1. Install/Open "Lego Mindstorms Education EV3"
Contact IT and they will install the App. on your computers.
2. Learning to Program (Gradesheet)
Tutorials: The following tutorials will provide you with the Code for the programs you will write later. For each of the tutorials below, go to card #3, view the code and guess what will occur and then run the program to see if you were correct. Then have your partner initial your Gradesheet. Note: Do not spend more than a minute or two on any of the tutorials!
How to Run The Programs:
- Connect your robot with the provided usb cable to your computer.
- Each program will have a White Arrow in a Blue Circle' in the bottom right corner of the screen...click it! It will allow the program on the screen to 'download' and 'play' on your robot. Read the program...if it says 'Left" 'Center" or "Right" button needs to be pressed to start the program...then push the corresponding button to get the robot going.
- Note: Currently you only see a few CodeBlocks. If you would like access to all of the CodeBlocks, then select "All CODEBLOCKS" in the bottom left corner of the screen.
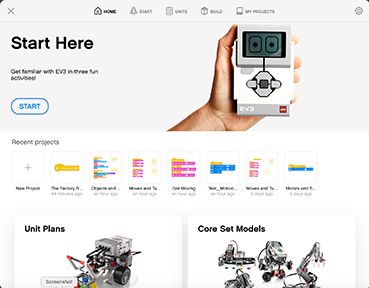
- Select "Unit Plans" (gold button). Find "Robot Trainer." - "Download" is covering it. Select it! The "Robot Trainer" Home Page will appear. Scroll down the page and do the following tutorials:
- Moves & Turns (Motion)
- Go to Card #3: Guess what the program will do. Second, download it and run it...were you correct?
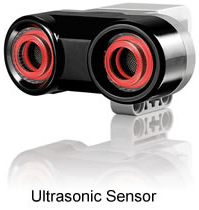
- Objects and Obstacles (Ultrasonic Sensor)
- Go to Card #3: First, guess what the program will do. Second, download it and run it...were you correct?
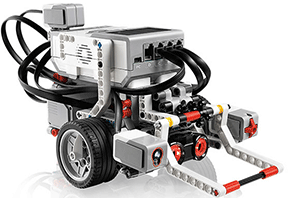
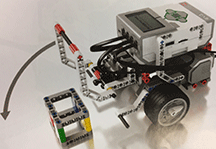
- Grab and Release (Lower Arm Over Cube)
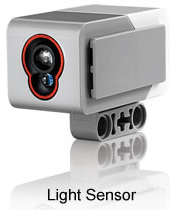
- Color and Lines (Color Sensor) & Example of If/Then/Else
- Go to Card #3: First, guess what the program will do. Second, download it and run it...were you correct?
- Angles and Patterns (Gyro)
- Go to Card #3: First, guess what the program will do. Second, download it and run it...were you correct?
- Moves & Turns (Motion)