|
ECS Photoshop Tutorial
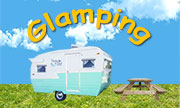
"My Resort!"
|
|
| These video tutorials match the skills taught in the classroom. Each segment below corresponds to the gradesheet provided to the students. |
Steps To Download SHUSD Adobe Photoshop: click here!
Note: Anytime you want to open Photoshop, first log into your school google account, then you will be able to open Photoshop. |
| Reminder: How to Right Click on a Macintosh... (video) |
| Explanation of this Photoshop training...(Mobile) (YouTube) |
Create a folder on your desktop. Title it: “MyResort_Photoshop” (Mobile) (YouTube)
|
Step #2: Acquire Images
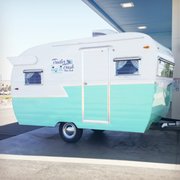
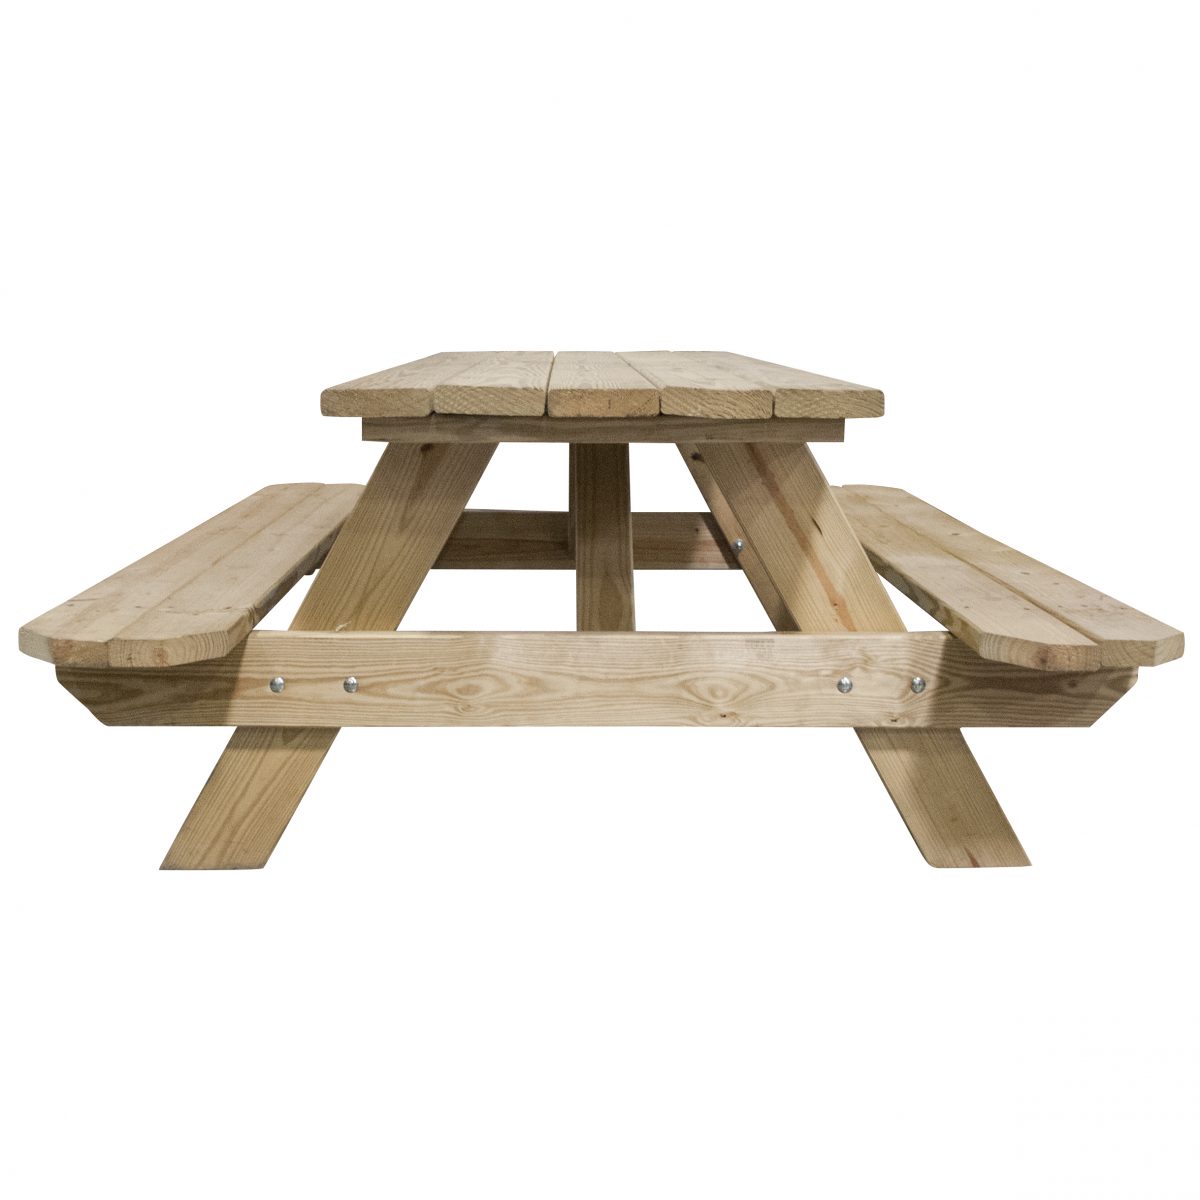
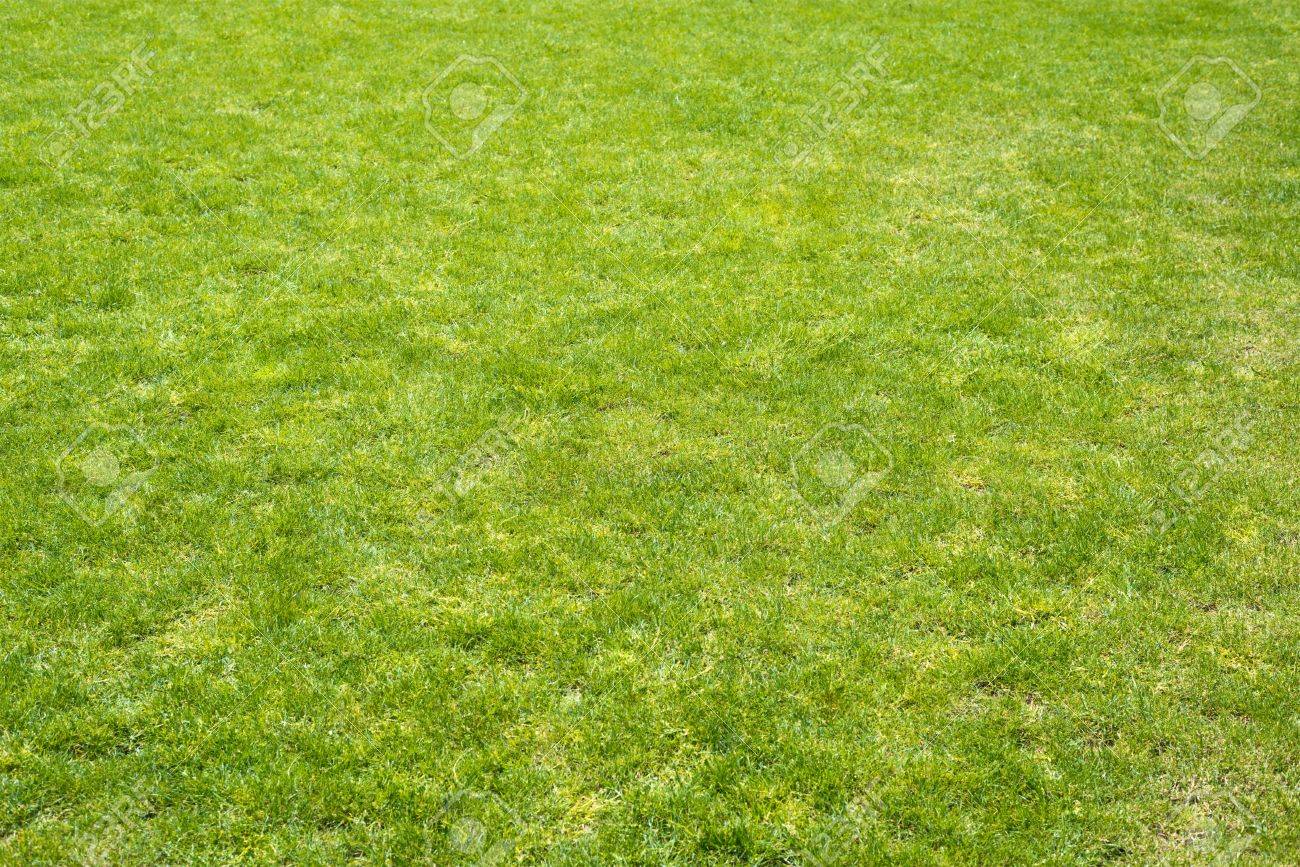
- Go online to Google Images, find and save to your folder an image of a trailer, a bench, a sky and grass. (The online tutorial will show you how to access the actual images in the graphic above) (Mobile) (YouTube)
- Here are images for you to use: Trailer, Picnic Bench, Sky, Grass.
|
Step #3: Create A Canvas
-
Open Photoshop. Create a New Canvas. Set the canvas to 5 inches wide by 3 inches high / 72 dpi / RGB / transparent. Save this Photoshop project to the folder you created on the desktop. Title it: “Glamping_YourName.” (Mobile) (YouTube)
[If you are using a version of Photoshop pre 2021, then use: (Mobile) (YouTube) ]
|
Importing Big Images!
- If you found and downloaded an image that is bigger than the canvas, the next video tutorial will show you how to reduce the size of the image so that you can insert it onto the canvas.
|
Step #4: Import Images (!& Big Images!) & Resize An Image and The Lasso Selection Tool.
- Import the four images to the canvas and remove the trailer background by using the Polygonal Lasso. (Mobile) (YouTube)
|
Step #5: Layers: Arrange and Appear
- Arrange the layers and make them appear and disappear. (Mobile) (YouTube)
|
Step #6: The Magic Wand Selection Tool & Transform Size
- Remove the white background around the bench and change the size of the bench. (Mobile) (YouTube)
|
| Step #7: Adding Text
|
Step #8: Drop Shadow
- Add a Drop Shadow to each of the layers in this image. (Mobile) (YouTube)
|
Step #9: Trim (or Crop) Canvas
- The canvas must be reduced (Trim or Crop!) to match the size of the image. (Mobile) (YouTube)
|
Finally: How To Export An Image
- After you create the image in Photoshop, you must compress it and export it so that it can be used by other applications: (Mobile) (YouTube)
|