EV3 Assembling & "Hand Coding" Instructions

1. Build Your Robot

Open the EV3 Mindstorm manual - it should be in your box...if not, here is a link: Driving Base_Assembly Manual. This manual will guide you step-by-step in the building of your EV3. Go ahead, begin assembling your robot...and have fun!
(Approximately 83 pages)


2. Program Your Robot

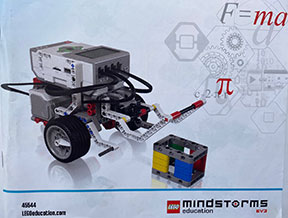
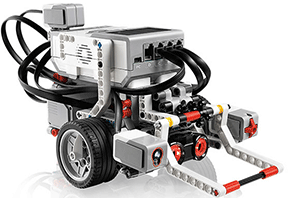
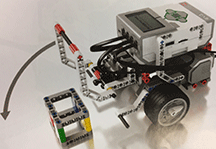
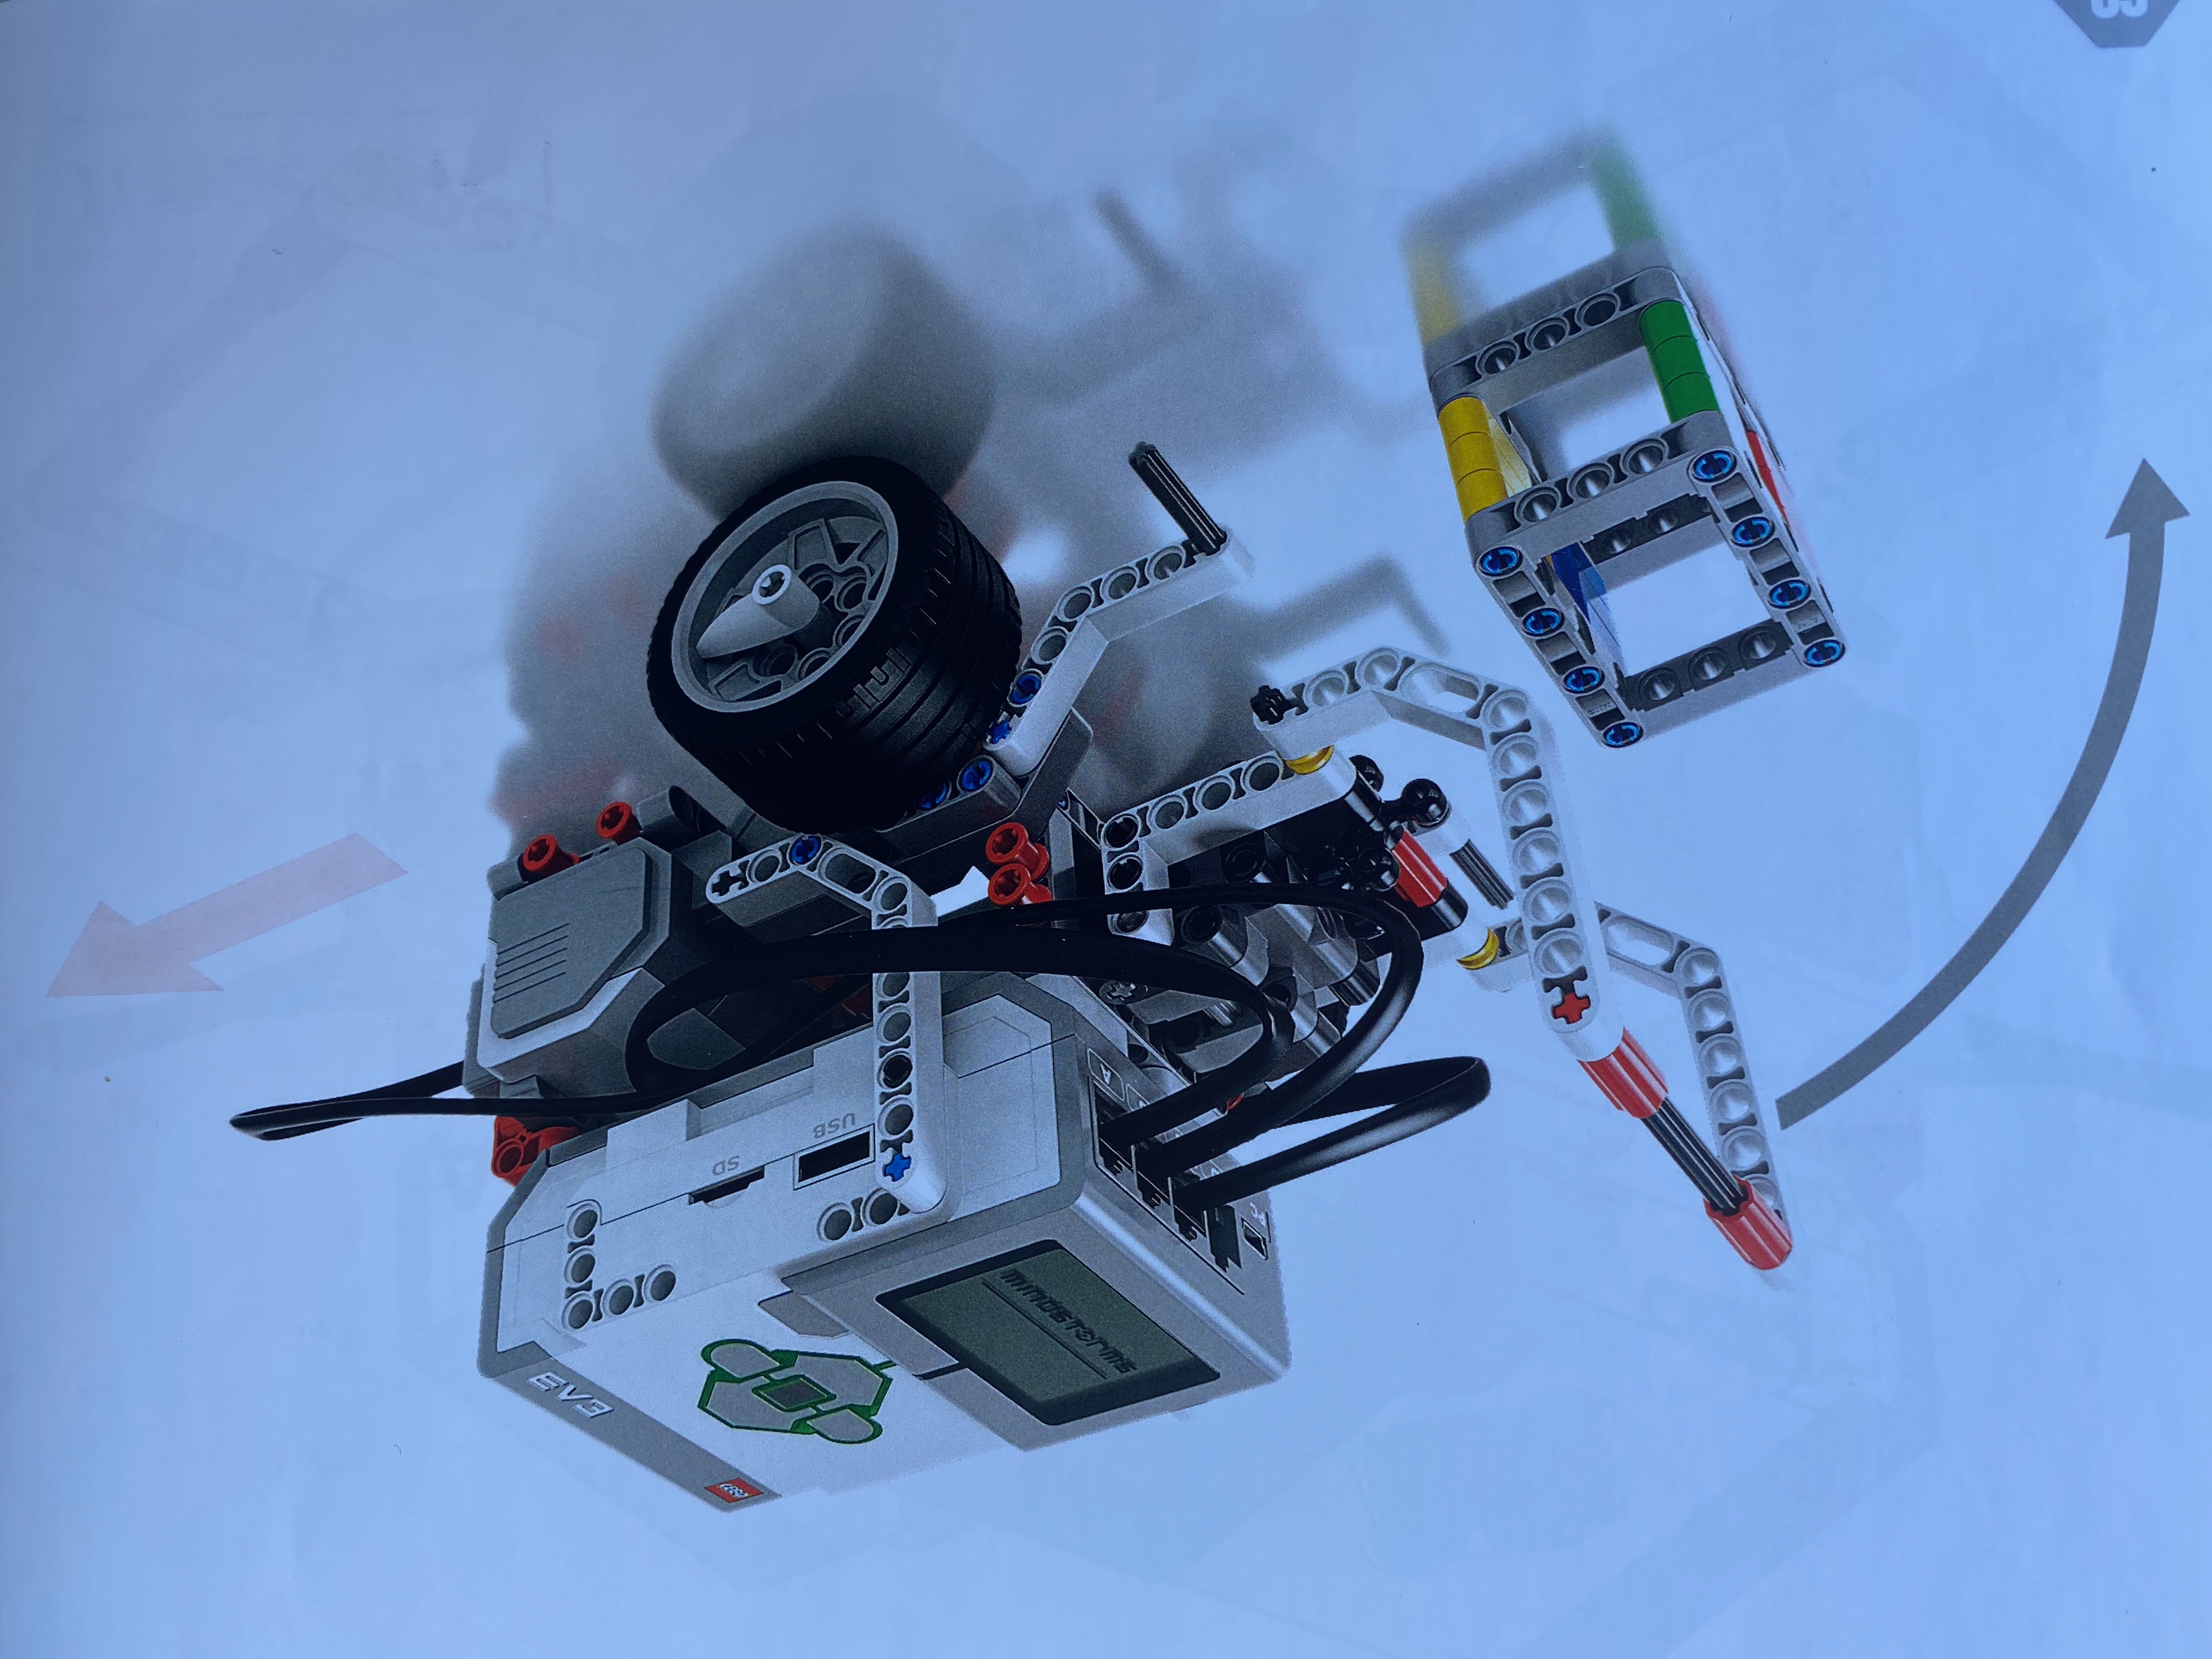
The base structure of your robot is complete. You will now learn how to program your robot. There are two ways that you will code your EV3. First is to hand code the Brick directly. Second is to eventually code it with your computer.

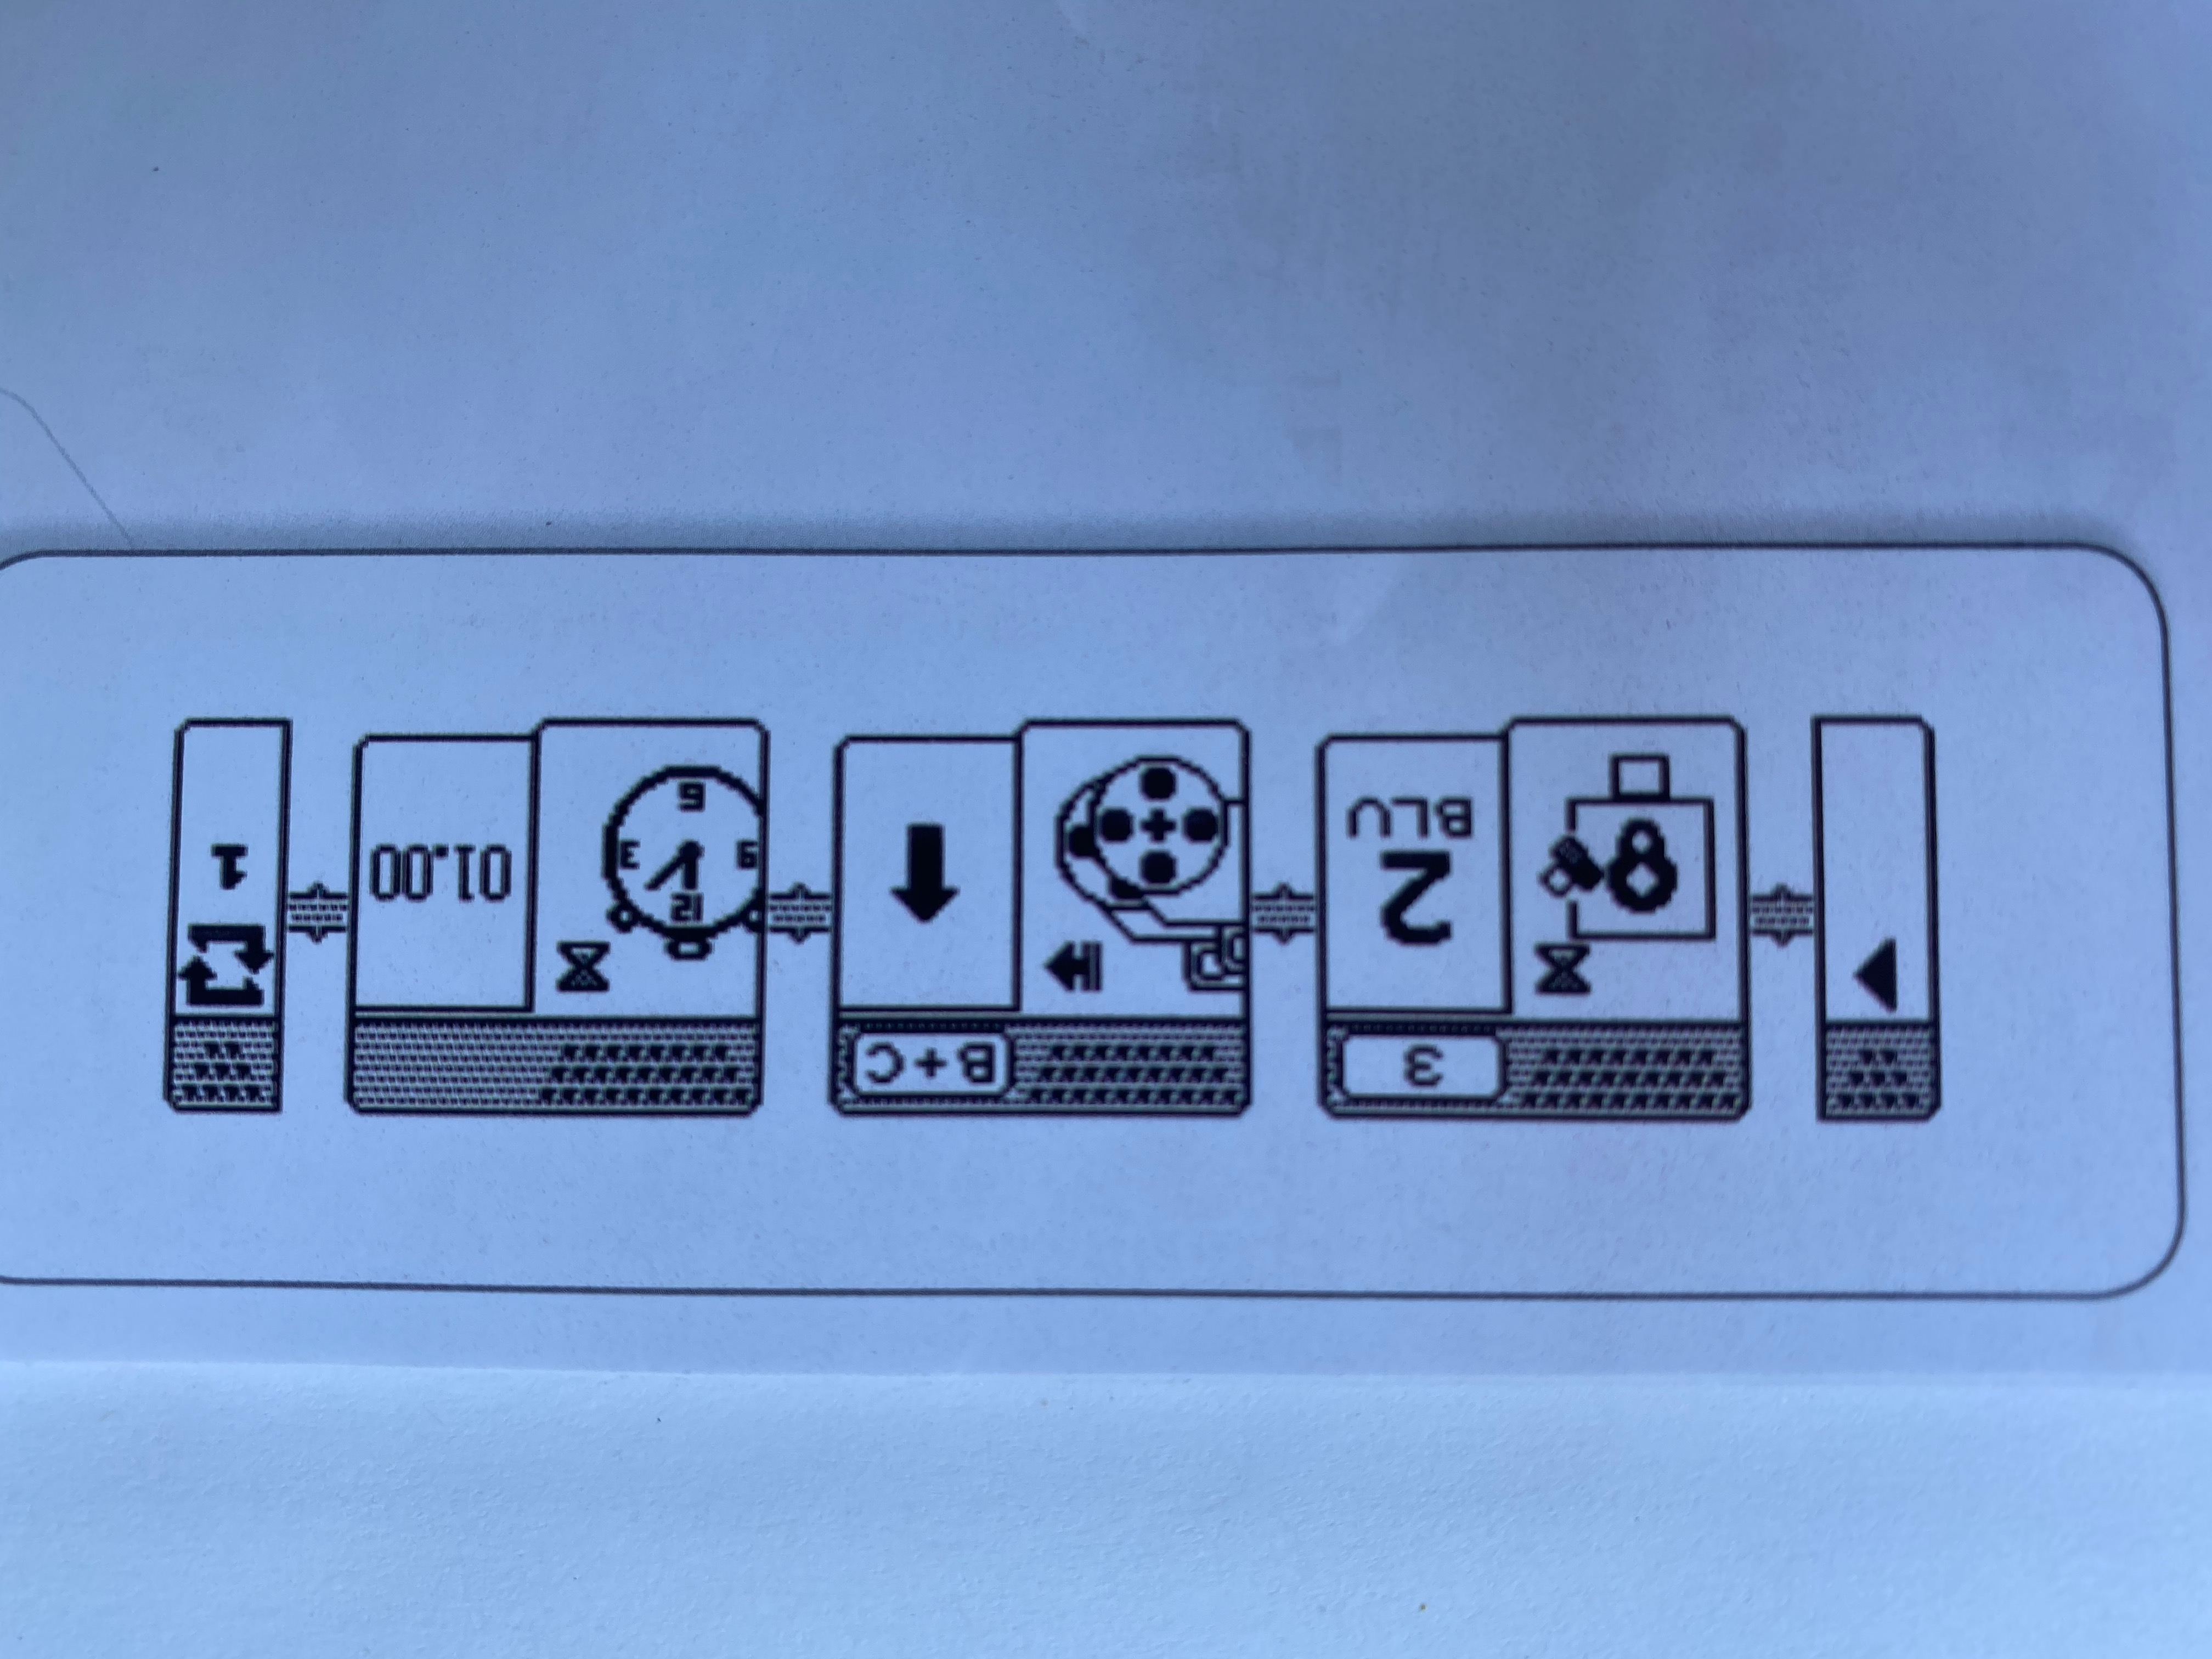
Let's start by learning how to Hand Code the actual robot. Click on this link to access a Tutorial Explaining How To Manually Program Your EV3.
Pull the slider and begin the video at 1:06.

Here is a Cheat Sheet I created that has tips on how to Hand Code your EV3.

Also, if you don't already have one...here is the EV3 Programming Gradesheet! This gradesheet matches the instructions provided below.

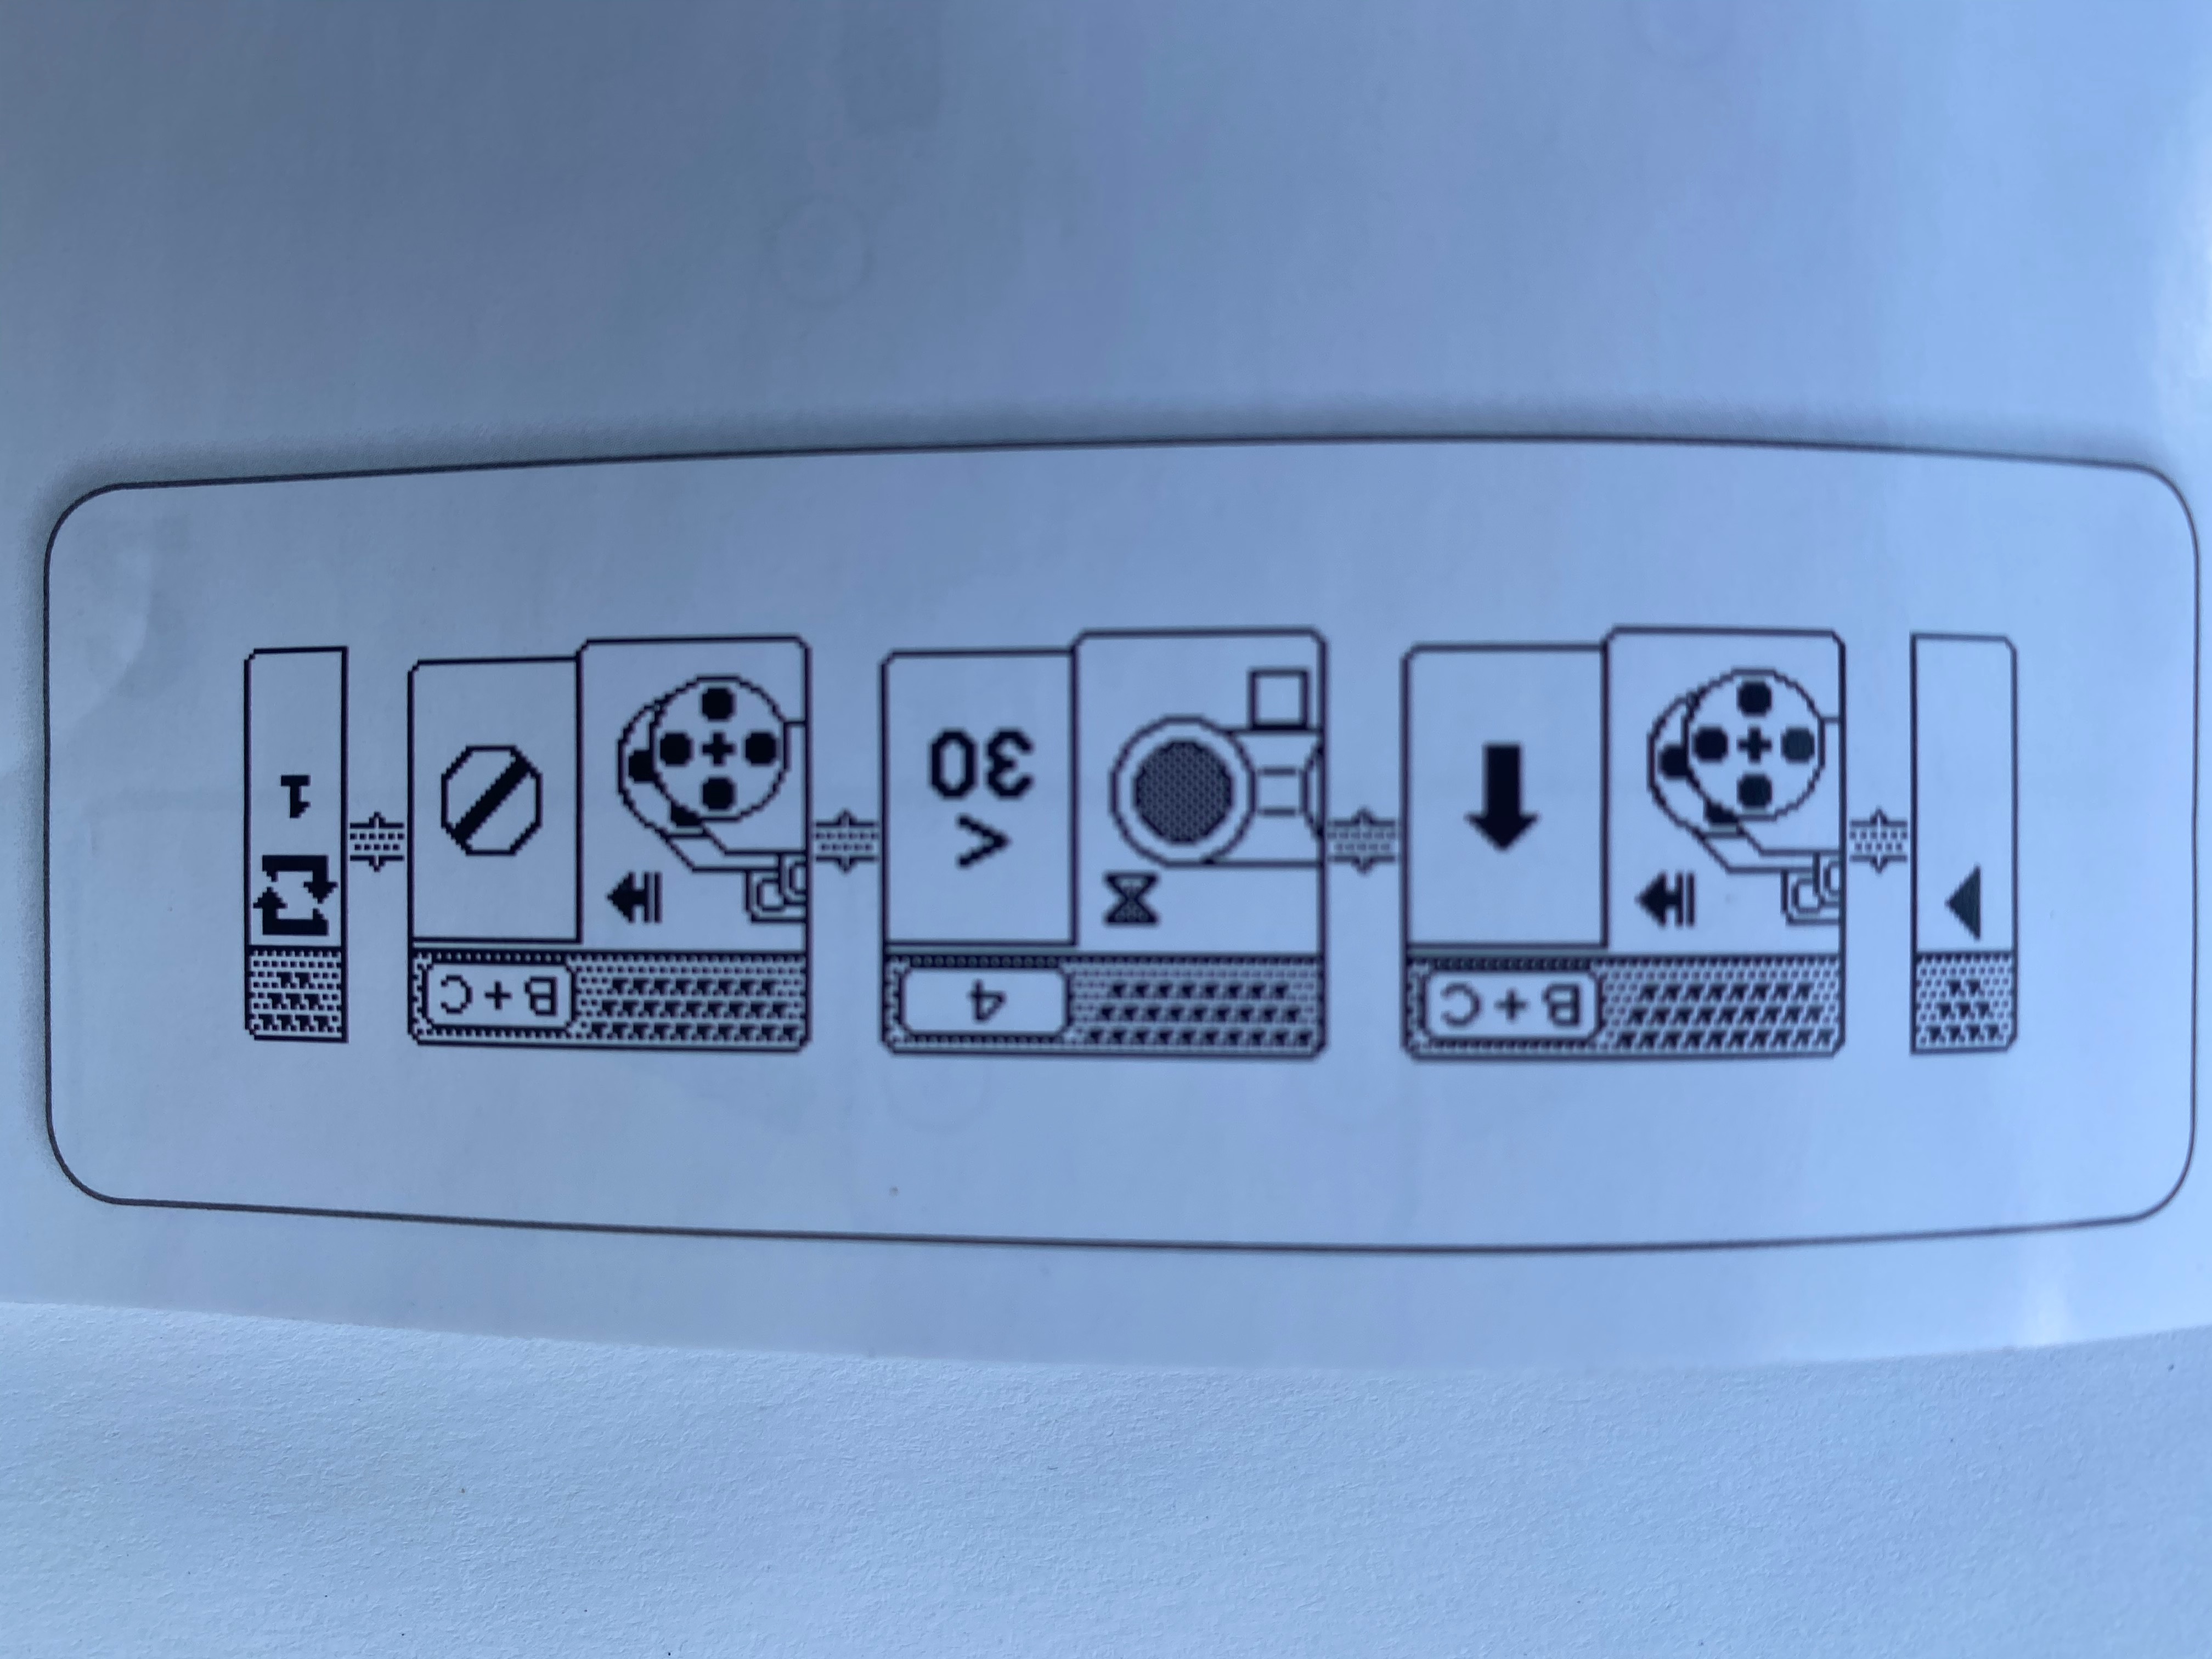
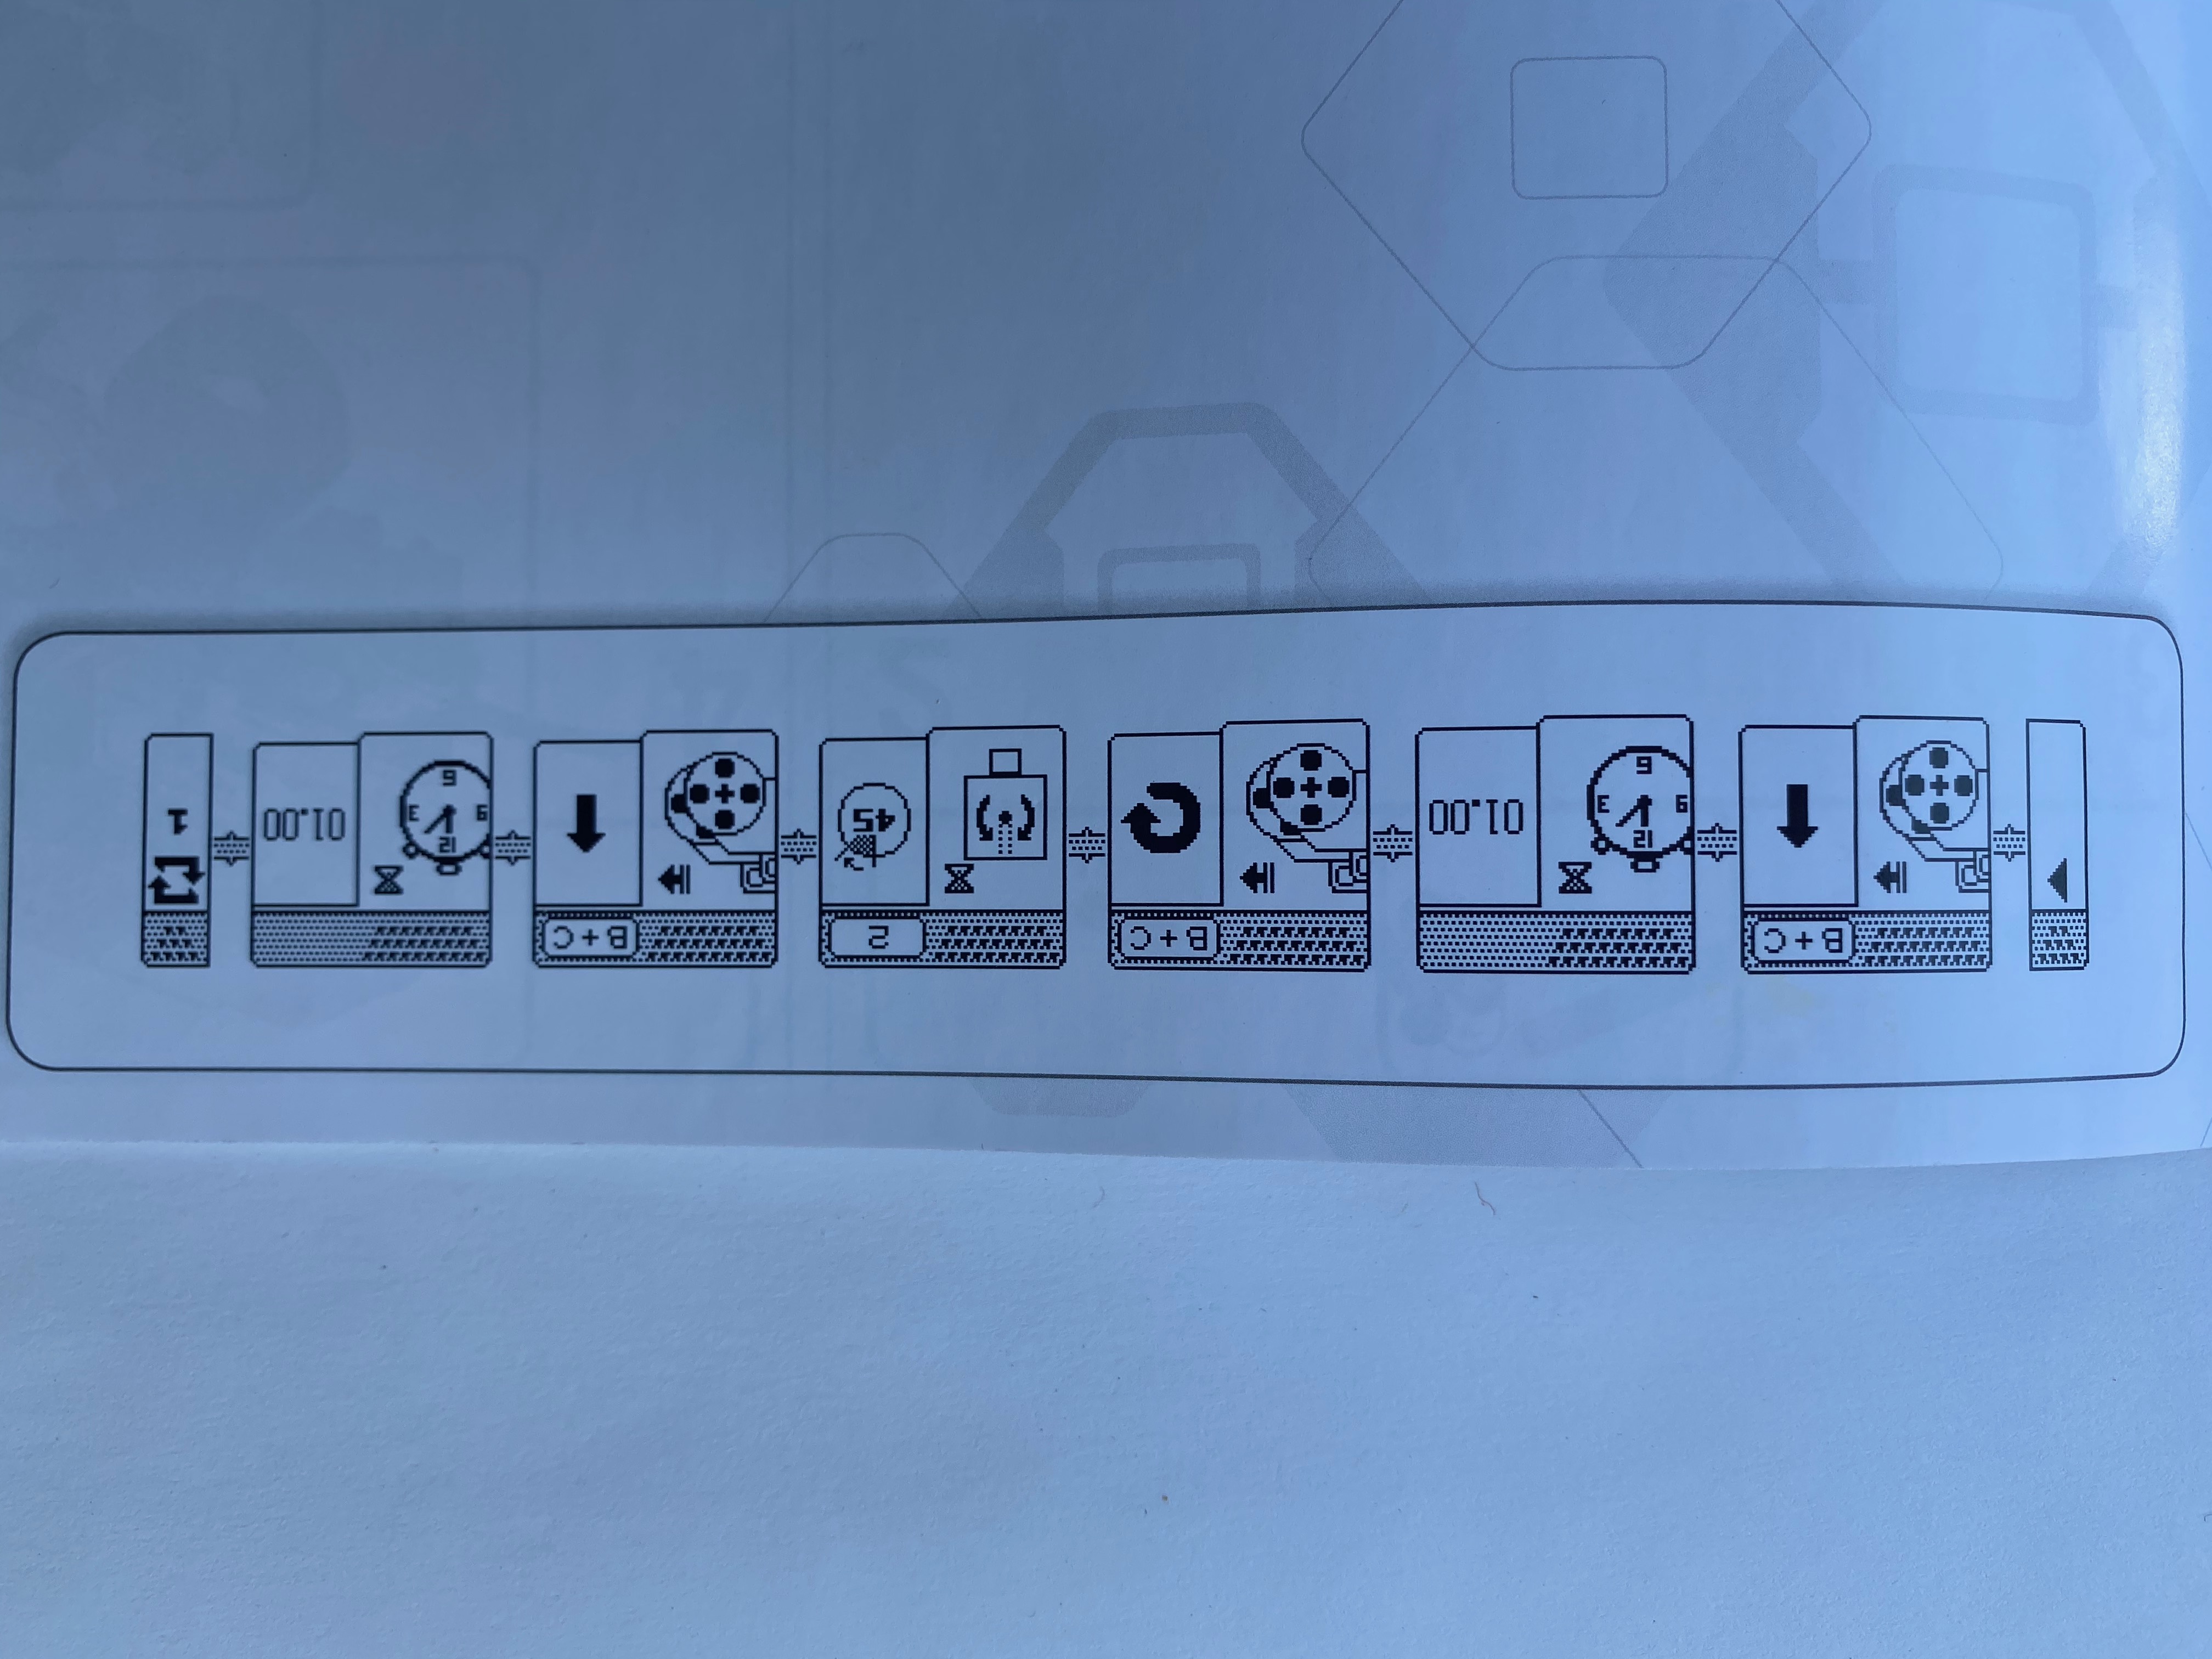
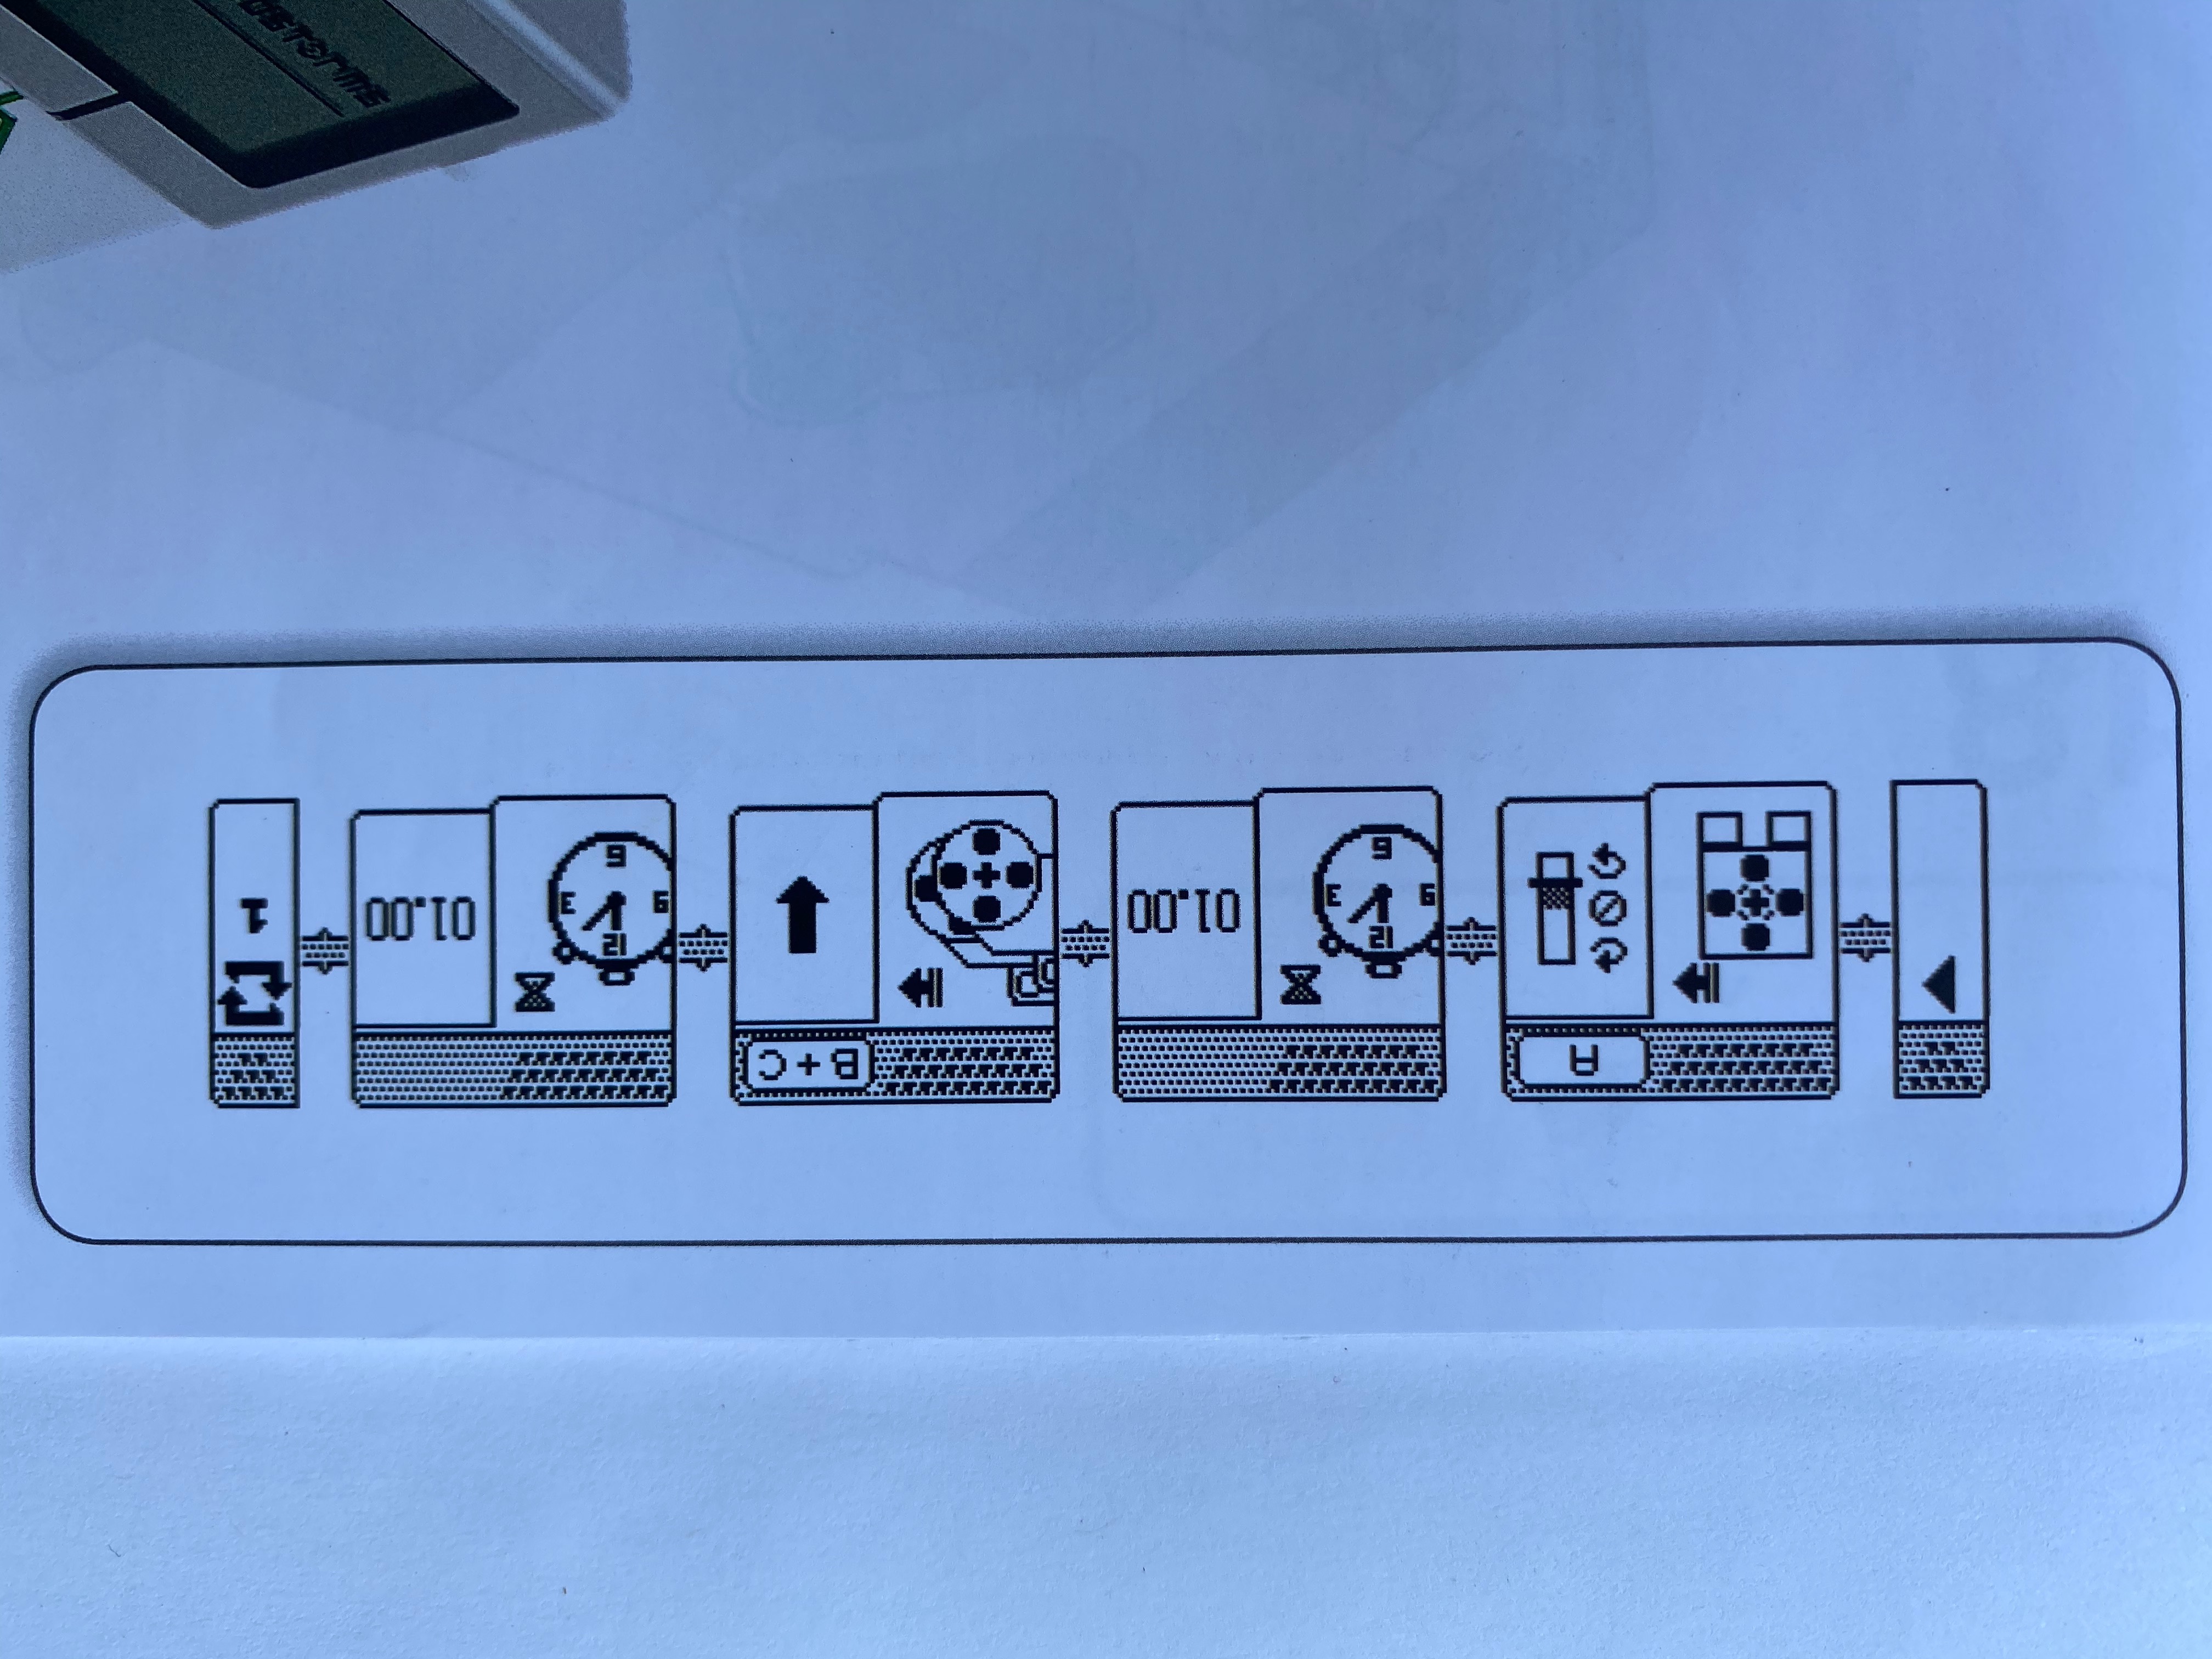
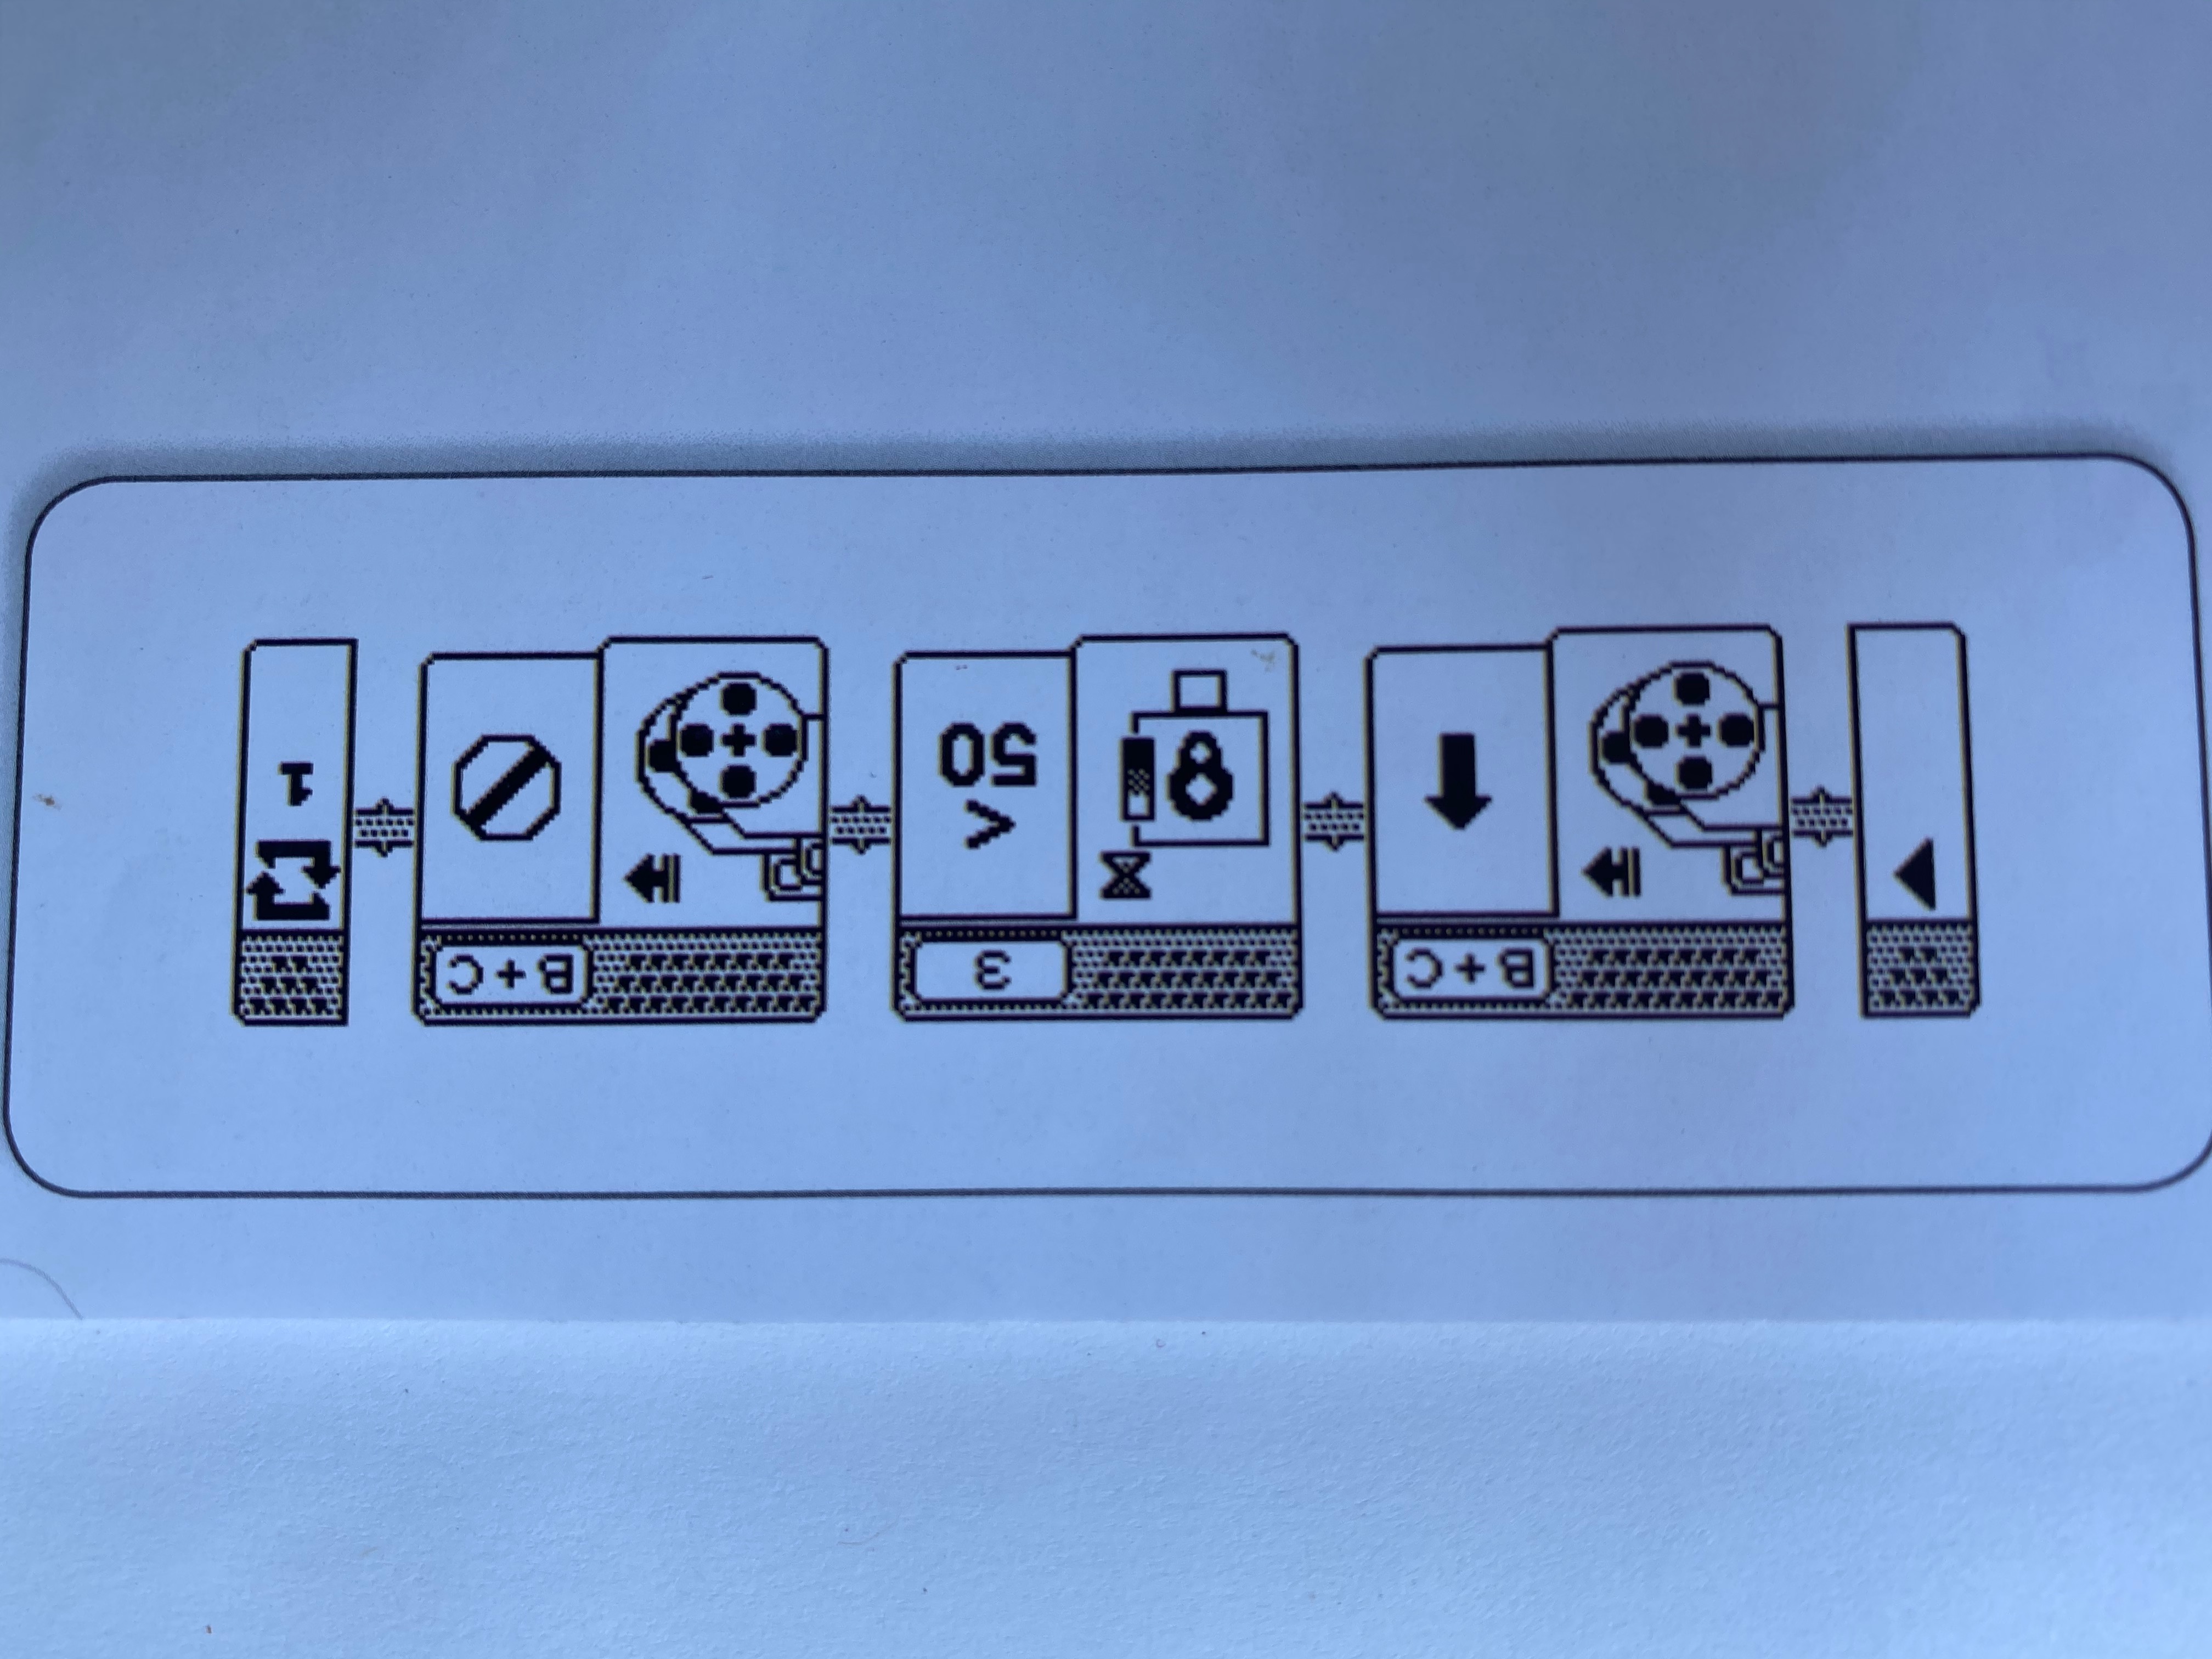
To Begin...Click the center button on your EV3 to turn it on. Now, apply the skills you learned above by programming your EV3 to perform the following tasks (When you succeed, call me over so that I can sign your gradesheet).
Note:You are limited to 16 segments of code per program.

1. Program Motion

  • Program your EV3 to successfully drive forward 1 second. Turn Around and Drive back to start.
    Hint: View the video tutorial above!
    (Mobile) (YouTube)

2. Program the Touch Sensor

  • Program your EV3 so that it will drive forward, but when trigger is touched, it will turn right for 2 seconds then continue to drive straight again (loop).
    Hint: Duplicate the Motion Program you wrote above. Switch a  Touch Sensor Code Block with the Clock block, followed by another "two wheeled motion block" with an arrow curving to the right, followed by another "clock block" lasting two seconds. Finally, add a two wheeled motion with a straight arrow.         (Mobile) (YouTube)
3. Ultrasonic Sensor (p.47)
The EV3 moved forward and stopped when its ultrasonic sensor came within 30 cm. of the cube.
Image / Code / (Mobile) (YouTube)

4. Gyro Sensor (p.53)
The EV3 moved forward for a few seconds and then turned 45 degrees and moved forward for another few seconds.
Image / Code / (Mobile) (YouTube)

5. Create Front Arm Lift (p.68)
The EV3’s front arm lift closed down over the cube and then dragged it backwards for a few seconds.
Image / Code / / (Mobile) (YouTube)

6. Color Sensor (p.72)
6a. Color Stop: The EV3’s came to a stop when the color sensor crossed a color line.
Image / Code / (Mobile) (YouTube)

6b. Color Go: The EV3’s move for a few seconds when the blue portion of the cube was placed in front of the color sensor.
Image / Code / (Mobile) (YouTube)

Apply The Skills You Learned Above By Writing A Program That Will Have Your Robot Use All the Sensors In Order To Successfully Complete "The Maze."