Photoshop - Video Tutorials
Steps To Download SHUSD Adobe Photoshop:. click here!
Note: Anytime you want to open Photoshop, first log into your school google account, then you will be able to open Photoshop.
Step #1: Folders
1a. Create a folder on your desktop and title it: "RLSAthletics_Photoshop."(mobile) (YouTube)
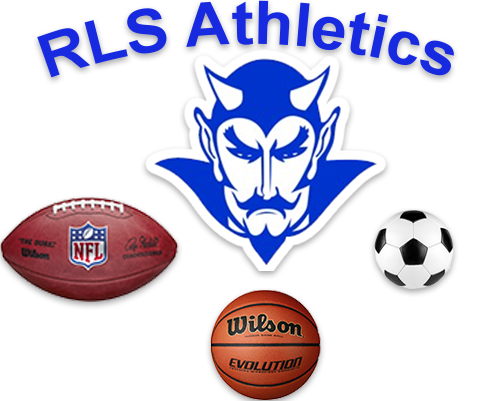
- 2a. Download the 4 images that appear in the model and place in folder.
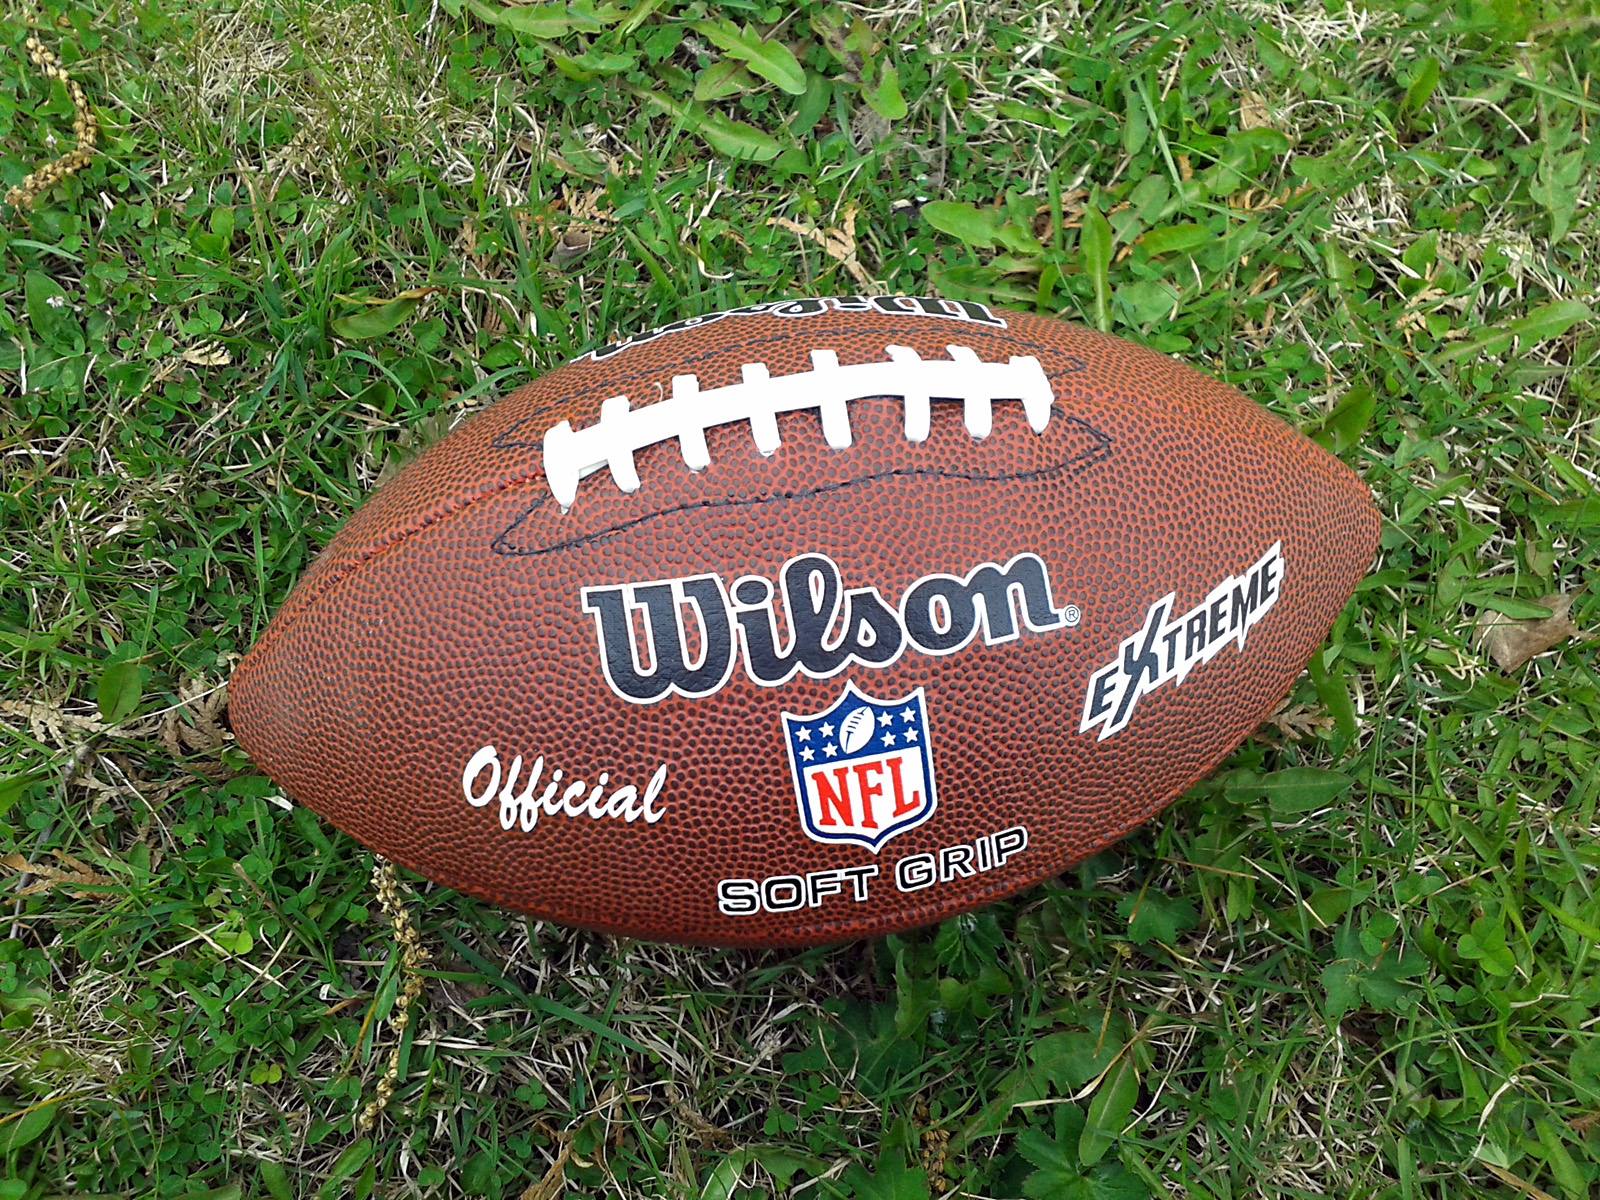
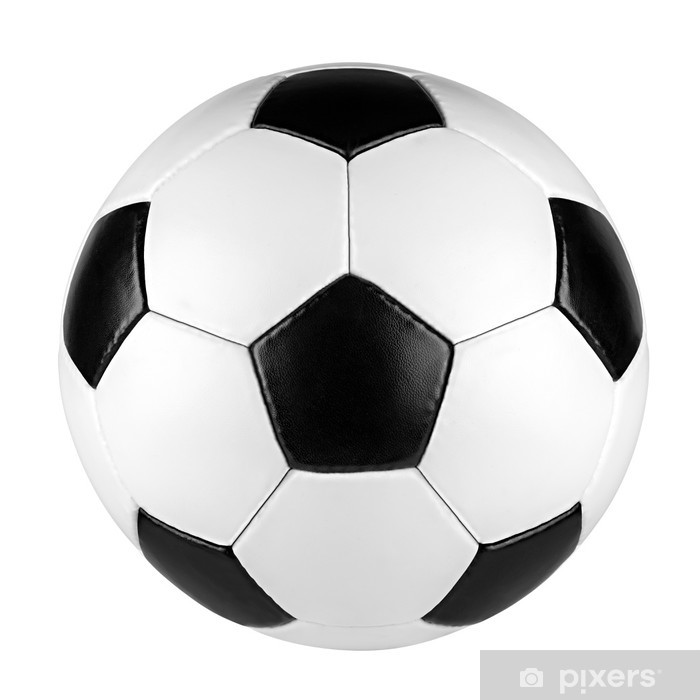
Here are links to all four images: Football, Soccer Ball, Basketball, Devil. Note: Click on the image. Once it appears, immediately Right Click or " Control" Click. Select "Save Image As", title it and save it to a folder that you plan to store all your images. (mobile) (YouTube) - Although the images are being provided to you, if you are curious as to how to acquire them yourself...(YouTube).
- 3. Create appropriate Canvas and Save your project. (mobile) (YouTube)
- "Save"?? If you create a Canvas, but do not make any changes to it, then Photoshop will not give you the option to "Save", but will give you the option to "Save As". Once you do add something to the Canvas, Photoshop will give you the option to "Save."
Step #4: Inserting Text & Bending Text (Turn Off "Tool Tips.")
Importing Big Images!
- If you found and downloaded an image that is bigger than the canvas, the next video tutorial will show you how to reduce the size of the image so that you can insert it onto the canvas.
- 5a. Open four images. (mobile) (YouTube)
- 5b. Create a separate window for each image. (mobile) (YouTube)
- 5c. If the image is bigger than the canvas, then reduce the size of the image. (mobile) (YouTube)
- 5d. Drag each image's layer onto the canvas. (mobile) (YouTube)
- Remember To Constantly Save Your Work!!!
- 6a. Selecting layers & moving images on a canvas. (mobile) (YouTube)
- 6b. Remove Bkgnd Colors: Magic Wand & Polygonal Lasso
- 6b1. Basketball
(Use the Magic Wand) - (mobile) (YouTube)
- Magic Wand: When looking for the Magic Wand, Click and hold the corner arrow as shown in the video - after 2 seconds, the drop down menu of additional tools will appear...read the names of each tool and select the one that you want!
- 6b2. Blue Devil (Use Magic Wand & Inverse Tool - (mobile) (YouTube)
- 6b3. Soccer Ball (Use Polygonal Lasso) - (mobile) (YouTube)
- 6b4. Football (Use Polygonal Lasso & Add Layer _ Delete Layer _ Copy Image To Canvas) - (mobile) (YouTube)
- 6b1. Basketball
(Use the Magic Wand) - (mobile) (YouTube)
- Remember To Constantly Save Your Work!!!